
Here are the four main things you need to learn to work with audio keyframes in Scenery:
Zooming in on audio clips
Adding keyframes
Adjusting keyframes
Removing keyframes
Zooming in on audio clips
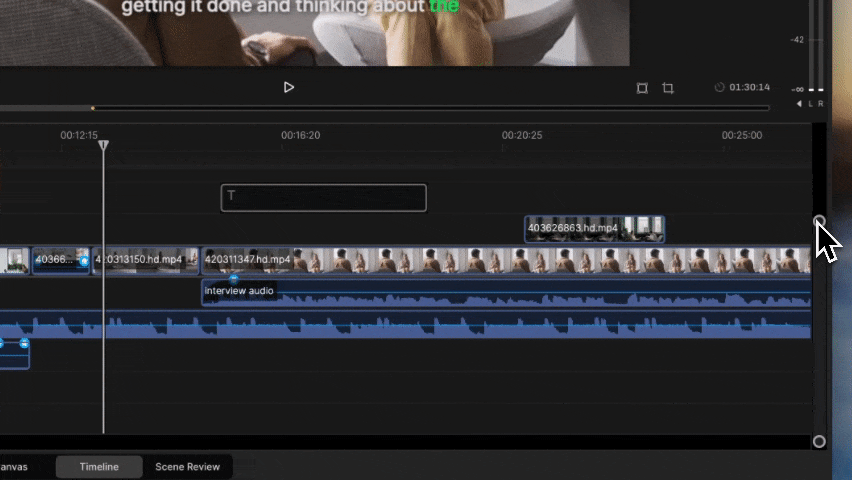
Zoom in on the audio clip you want to work with by adjusting the Timeline’s vertical scale with the right-hand slider, or holding SHIFT and pressing + / -.
Keyframing audio is a process of fine tuning — and in order to get precise, you’ll need to zoom in on the audio clip you want to work with. To zoom in, adjust the Timeline’s vertical scale with the right-hand slider or hold SHIFT and zoom in and out with the + and - keys. (See all our keyboard shortcuts. There’s a ton.)
Adding a keyframe

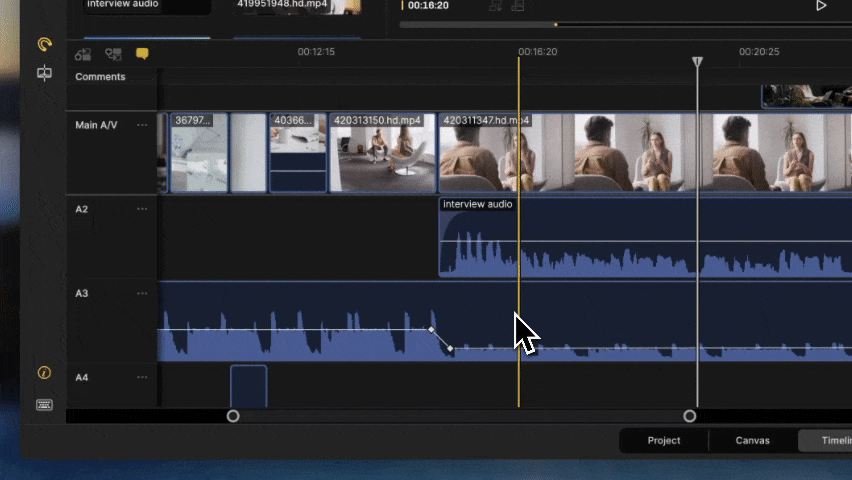
Hover over the volume line, then hold ALT/OPTION and click to add a keyframe.
To add a keyframe, select the audio clip you want to tweak, then hold ALT/OPTION and click on the volume line in the spot you want to place a keyframe. As you hover, you’ll see a plus sign cursor indicating you will add a keyframe.
Once you’ve added a keyframe, you’ll see a small diamond on the volume line indicating where it is.
Adjusting keyframes
Click and drag to adjust keyframes.
Adjusting keyframes is the fun part. Simply click and drag to move keyframes up, down, left, and right. Go wild. As you move keyframes, neighboring keyframes will not be impacted.
Removing keyframes
ALT/OPTION + click to remove, or right click for an option to remove all.
If you want to remove keyframes, there are two ways to do it:
OPTION + CLICK a keyframe to remove it
Right click on the volume clip and select “Clear Audio Keyframes” to get rid of all of them